Getting Started
Getting Started with NotebookLM
NotebookLM is an AI-powered tool that can help you with your research and learning. In this course, you’ll be using NotebookLM to analyze companies, industries, and competitive landscapes.
Accessing NotebookLM
- Open your web browser and go to https://notebooklm.google.com/.
- Sign in with your Google account.
That’s it! You’re now ready to start using NotebookLM.
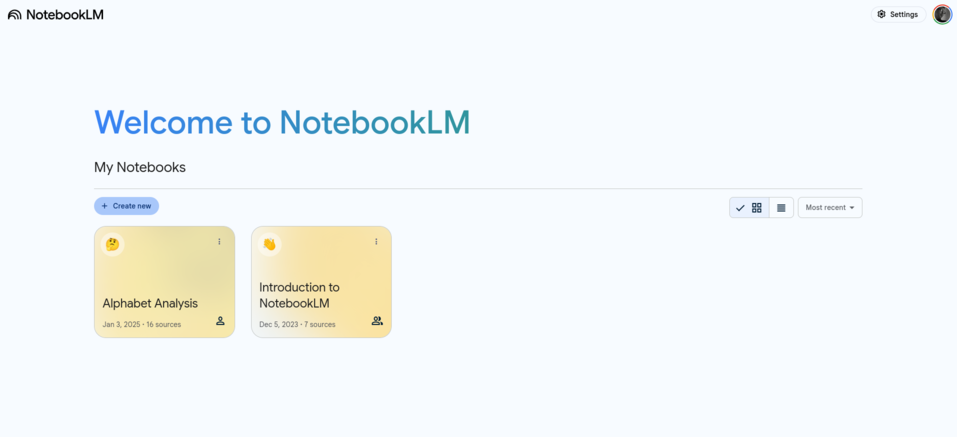
Please note that the actual appearance of NotebookLM may differ from this screenshot as the product continues to evolve.
Creating a New Notebook
- On the NotebookLM homepage, click the “Create new notebook” button.
- You may see a page that prompts you to add sources or give your notebook a name.
- You can dismiss the prompt to add sources for now and continue to give your notebook a name.
- Now is your chance to see the empty notebook one last time.
- The Sources, Chats and Studio panels represent key workflow steps you will perform in this app.

You’ve now created your first NotebookLM notebook!
Device and Browser Compatibility
NotebookLM works best in the latest versions of Chrome, Firefox, and Safari browsers. You can use NotebookLM on your laptop, tablet, or smartphone. However, for the best experience, we recommend using a laptop with a large screen.
Troubleshooting
If you encounter any issues while using NotebookLM, here are a few things you can try:
- Refresh your browser.
- Check your internet connection.
- Clear your browser’s cache and cookies.
- Try using a different browser.
If you’re still having trouble, you can refer to the official NotebookLM documentation for more help: NotebookLM Help
Next Steps
Now that you’ve created your NotebookLM notebook, you’re ready to start adding sources and exploring its features. In the next section, we’ll learn how to add source documents.